

Although most of the cameras, that are coming recently into the market, are starting to bring the WiFi functionality available there are still a lot of cameras out there that do not incorporate this kind of technology and since most of us do not upgrade our cameras constantly, for obvious reasons, there is a lack of these devices in the market for a reasonable price.
Is well known that you can always buy the branded ones but that will make you spend a lot of money into a small device that maybe for many do not even got out of the box that frequently and then become almost a non buy at first purchases and gear choices.
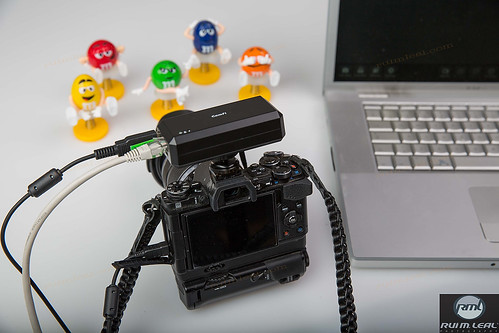
Although this is a very specific device it does not mean it's not something you should have in your bag. Consider having this if you plan on having your camera tethered to a computer or any iDevices via WiFi connection and cable free. It could also make you share your photos on the moment to anywhere and also be seen by your client during the photo sessions Last but not least you could even use such device to help you on your tabletop photography and remote camera connections since you have the possibility to see the photos on a larger screen and evaluate if you have the right focus and in the case of the remote camera you can trigger and adjusting it by just pressing a button or in conjunction with a Pocket Wizard for really far remote control.
On my previous post I also talked of another device that came into the market that you can also control remotely but that one is more of a multi trigger system with different options than this one that is much more toward the remote camera control itself.
Ivy Pan from CamFi sent me through Barry of DigiTrading.NL this really awesome unit to test and review.
So let's start up from the beginning, as you all know, by now, I really like to make my reviews shine with lot's of images so they better illustrate the product than a lot of words telling you what you want to read or not or even what the seller what you to read so you can run and buy them only to find they are not like that after all.

This is the package, let's open this baby up.

Great package and well conditioned.
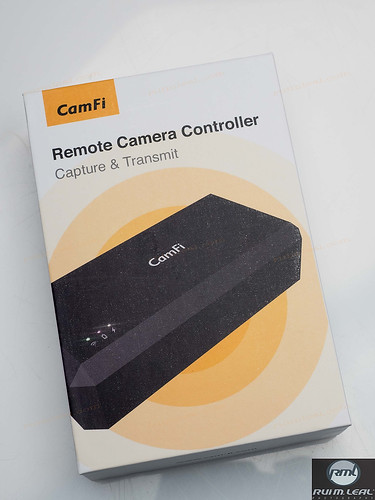
The outside box of the CamFi.
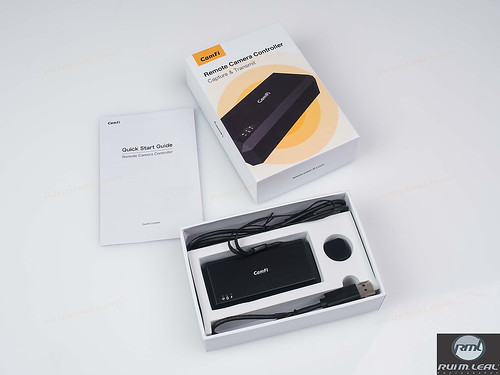
Open this up and you also find a Quick Start Up Guide to walk you through the connections and some basic settings.
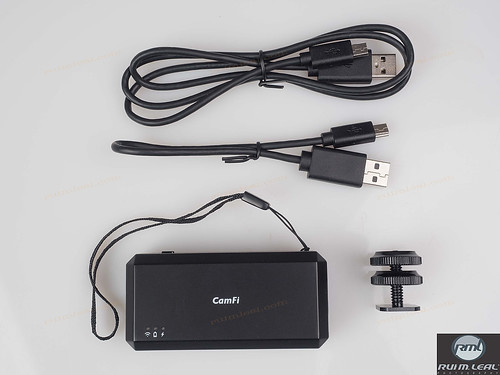
What's inside the box:
- 2 USB to Mini USB cables (Allow you to connect them to the camera and the longer one to connect to a computer so you can recharge the battery).
- Hot Shoe Adapter.
- CamFi unit.
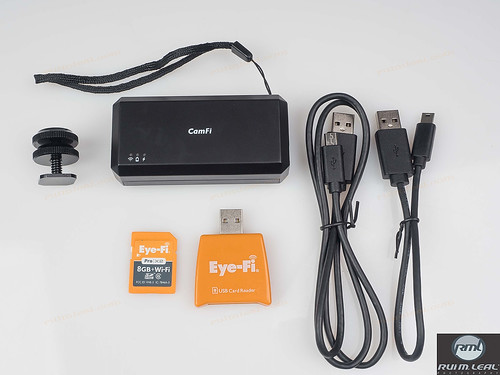
Here is a comparative photo with my Eye-Fi card, that I use on my Canon 5D MarkIII SD slot.
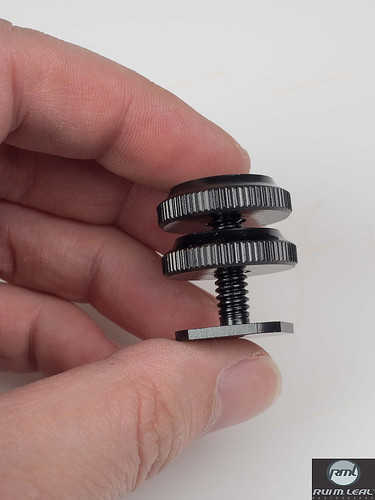
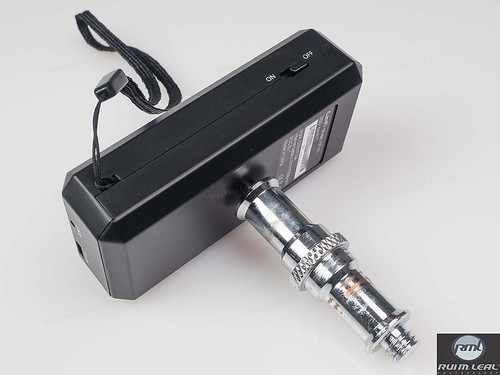
Here is the detail of the hot-shoe adapter.
Here is the hot-shoe adapter connection, you just need to screw this in and you are in business.
Detail of the connection, you can use this on a studio support stand with a 1/4'' pin has it's a universal thread.
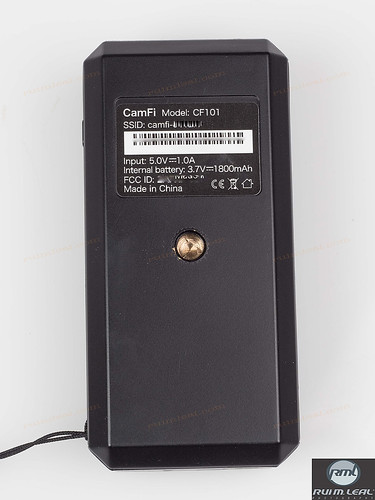
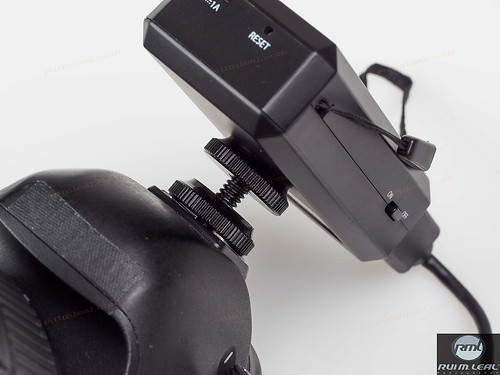
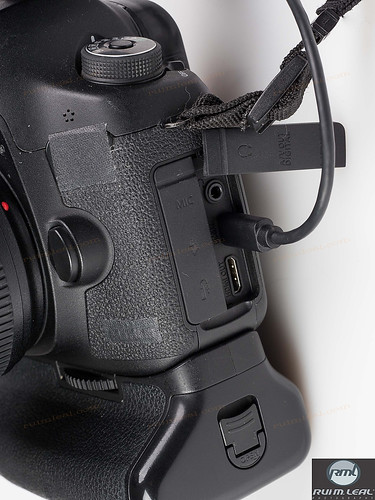
On one side you have the Reset hole and the 5V battery connection. I do feel that this kind of internal battery could cause some problems in outdoor situations where you do not have a USB connection to plug it in (either a computer or a small charger) although it said it lasts 6 hours running. I do think that a small USB wall charger could be included with the unit so it could give you a little more freedom out in the field.
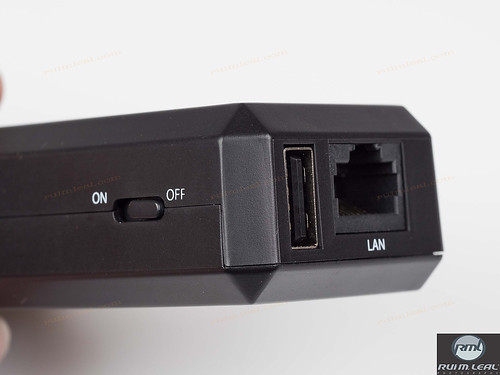
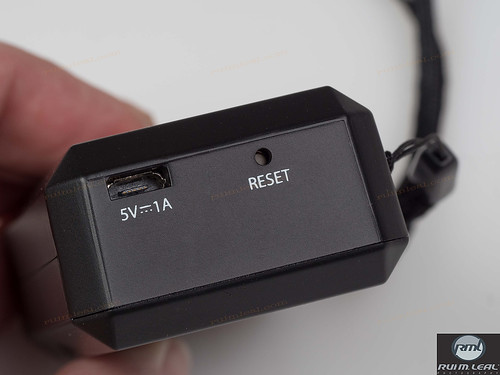
On the opposite side you have the USB camera connection and the LAN Port. I also miss a RJ45 LAN cable with it so it could be ready out of the box for a LAN connection. Although this is a more WiFi approach device nevertheless it could include this cable.
I attached it to a studio 1/4'' pin.

Here I attached the hot-shoe adapter to the CamFi. The adapter have to screws one to fix it to the device and the other one to attach it securely to your camera.

Another image of it. I think this is a good option and a good compromise between this and a fixed one since you can always remove it leaving the CamFi much easier to carry or put it in some other place besides your camera.
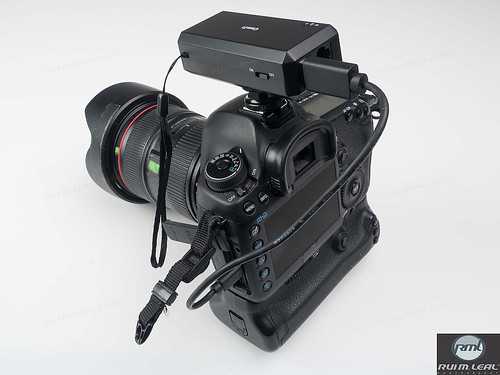
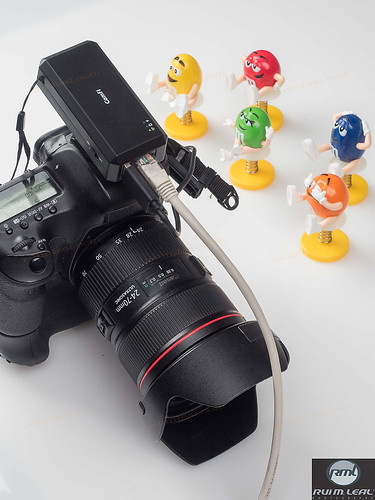
Here is the CamFi attached and connected to the Canon 5D MarkIII USB mini port.
Detail of the adapter attached.
Connection is made through the small cable that comes with CamFi.
You just plug the USB into the unit and the USB mini to the Camera.
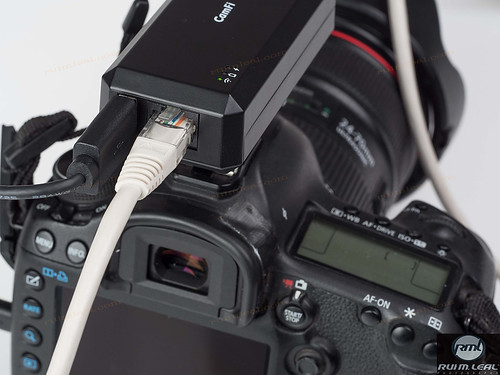
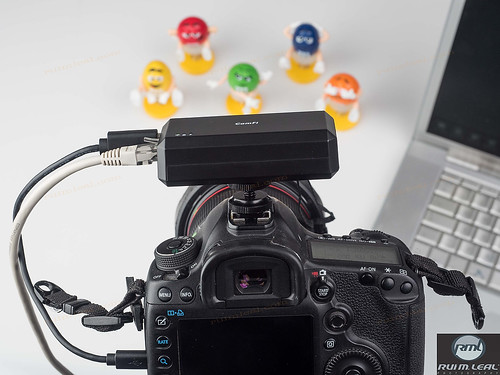
Then I decided to use the LAN cable so I can try first the connection by this method and if this would be a much faster option, to transfer and see photos, than the WiFi connection.
You jut plug an RJ45 LAN cable between the CamFi and your computer (Mac or Win).

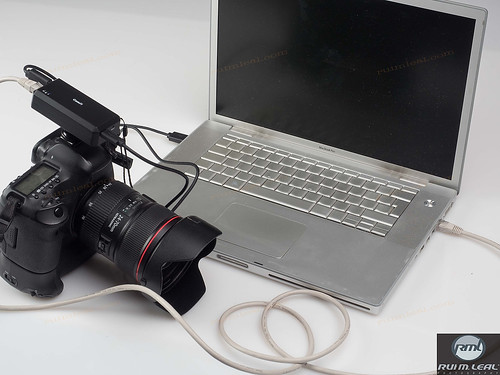
Just download the software for your computer and iDevice and you are rolling.
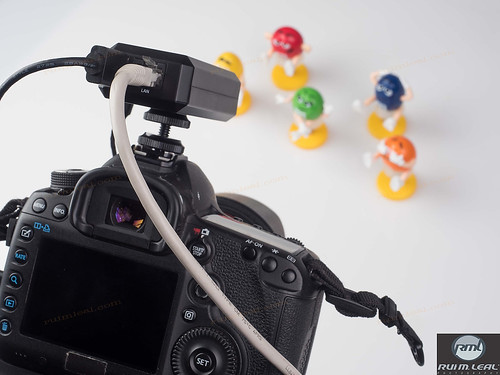
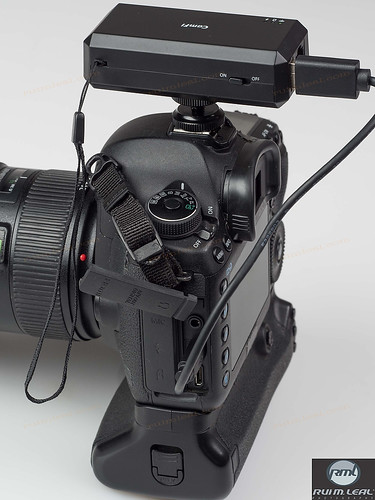
When I mounted to the camera I had the cables pointing at me and since I was not looking through the rear camera monitor it was no big problem until I needed to do so. As you can see on the above image that is not a very good solution.
Then I decided to rotate the cables towards the front of the camera, also not a very good solution as you can see on the photo below since the cables can get in the way of the lens or the focus system.

Here you can see that the cable was messing with the focus system making it not to work properly.
Then I decided to move it to the left side of the camera since this is the side where all the connections are at. At this point I was thanking that the Hot-Show adapter is loose since this way you can really rotate it to fit your shooting needs and your best camera position since there is not a right or wrong way to fit it in.
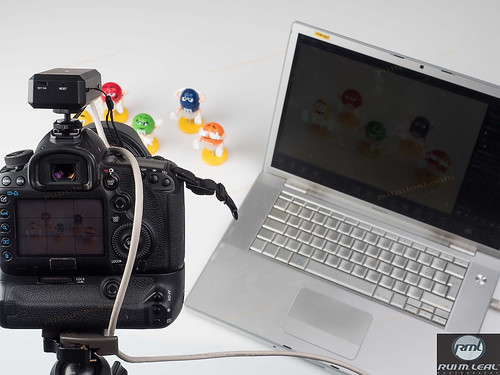
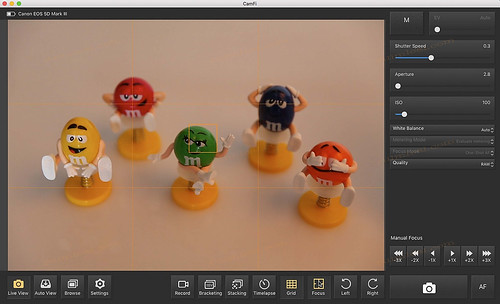
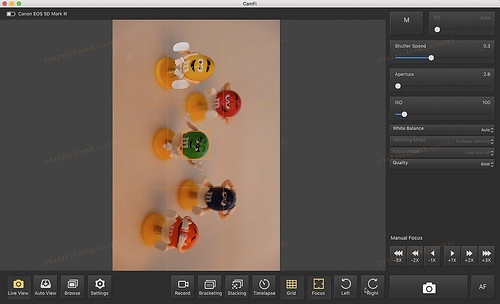
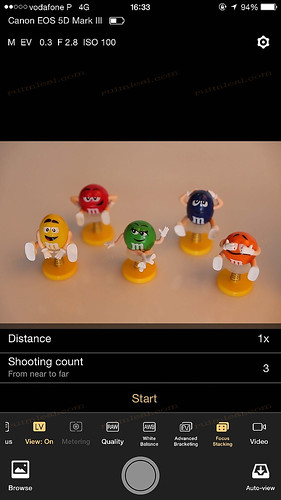
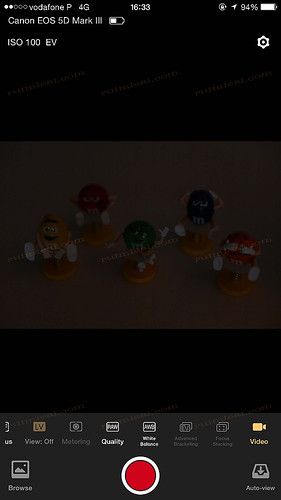
This image is just to illustrate that you can have CamFi on Live View at the computer while having it also live view on the camera monitor if you want and need it to.
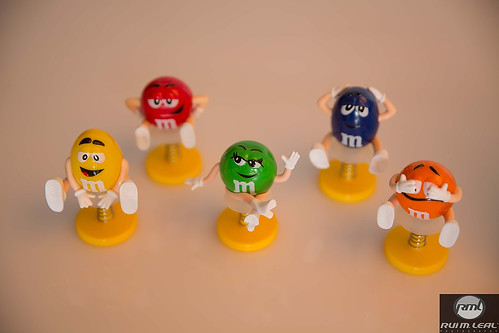
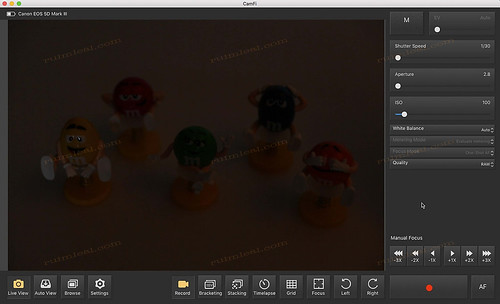
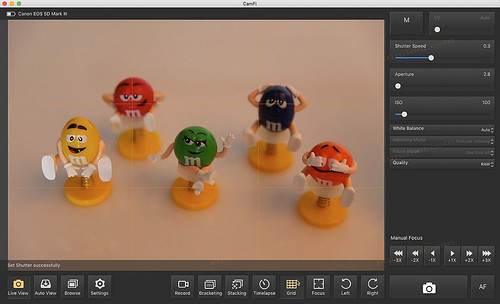
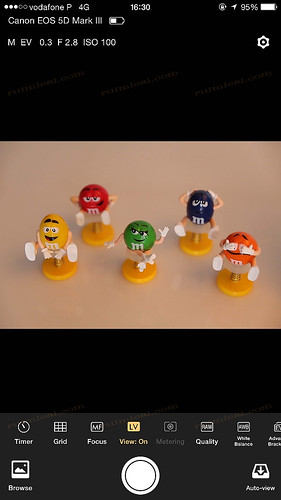
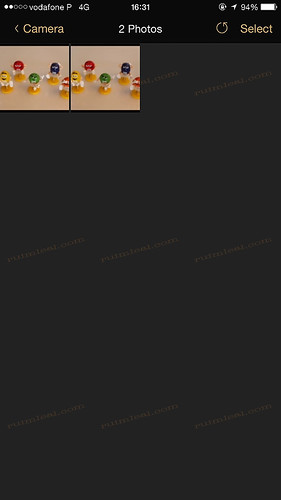
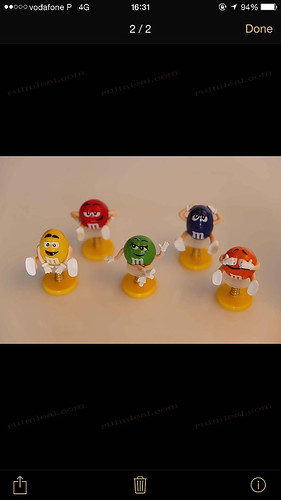
Here is a quick image I captured via CamFi Live View while having the camera on tripod.
I did no correction to the image and since I was using the modeling lamp of the studio lights, for this review, they came a little bit warm but I think it serves the purpose to illustrate this review.
I also took the time to catch some screenshots from the computer, iPad and iPhone so you can have an idea of what features are included in this version I reviewed.
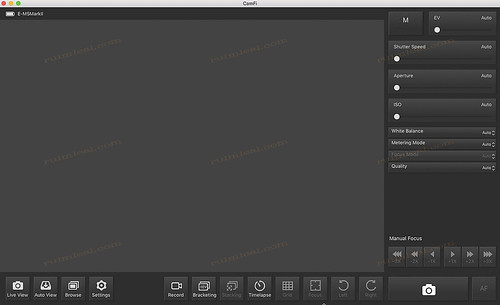
On a MAC this is what you will get connected via LAN cable.
Here are the screenshots.
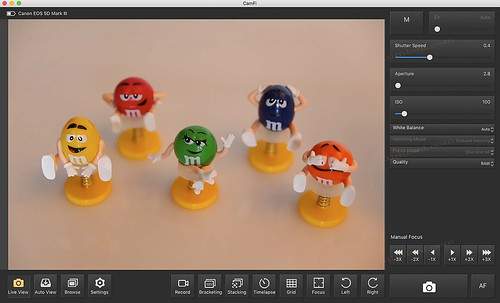
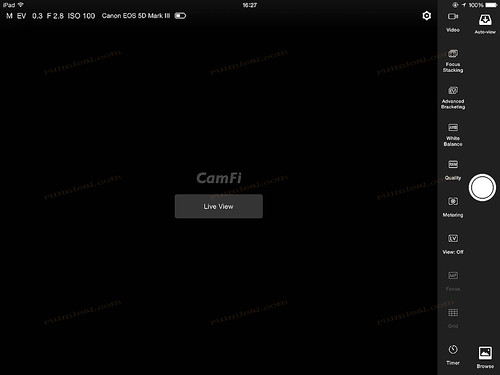
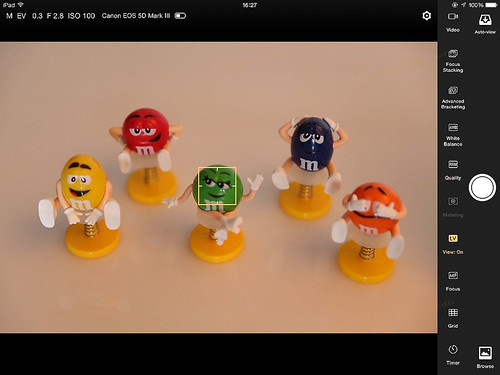
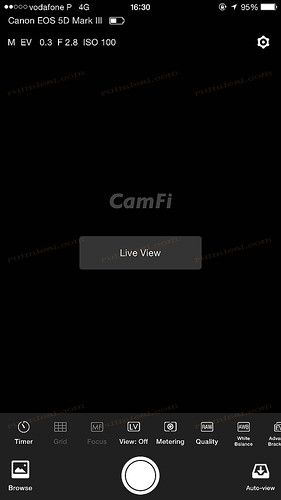
Live View mode.
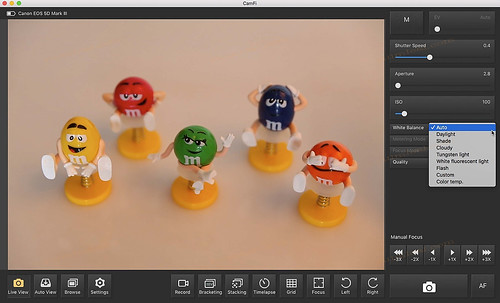
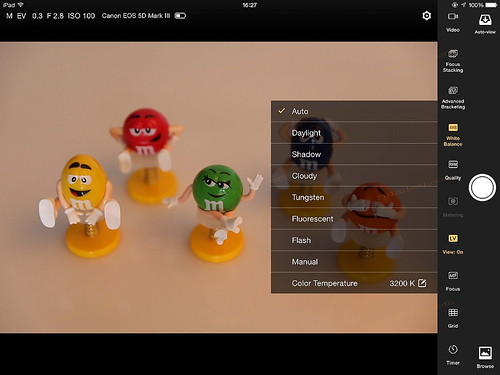
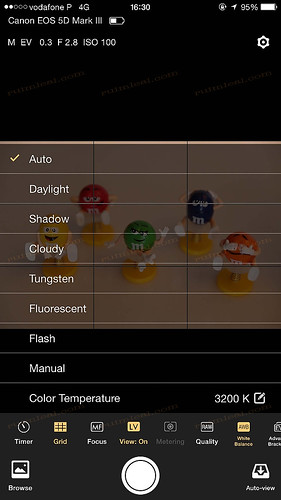
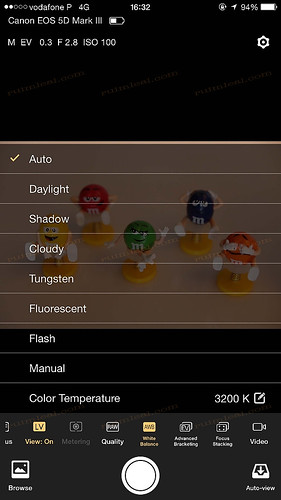
White Balance options available.
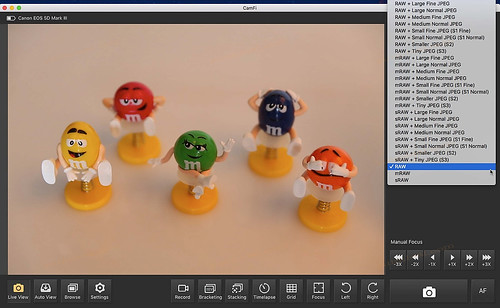
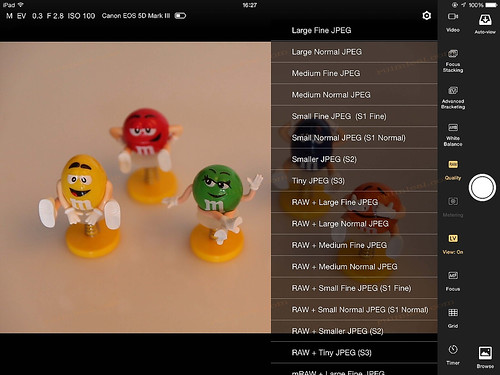
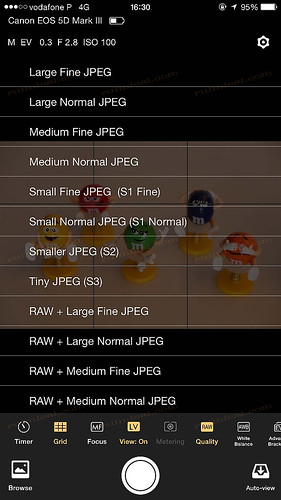
Quality available (This depends on the camera you have attached and basically are the modes you can choose on your camera).
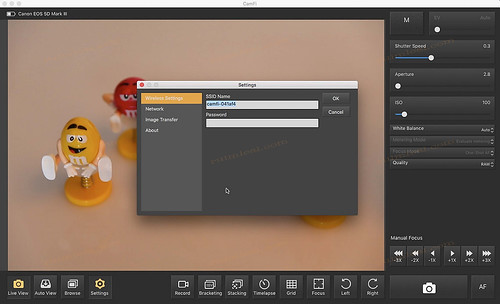
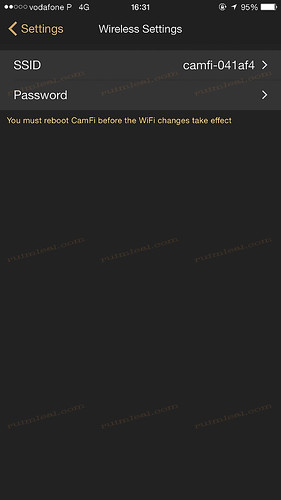
Settings options. You have the possibility to name your network (SSID Name) and choose a Password for extra security.

Then you have your network settings.
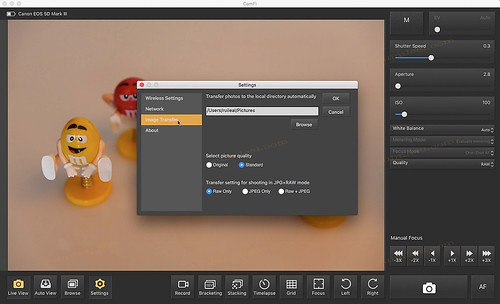
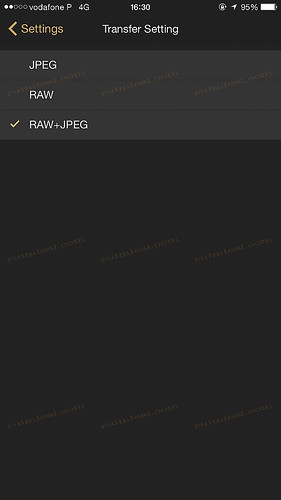
Image Transfer options. Here you can choose the directory where you want your images to go to, select the quality and also what type of images you want to transfer while shooting if just the raw or jpg or even both.
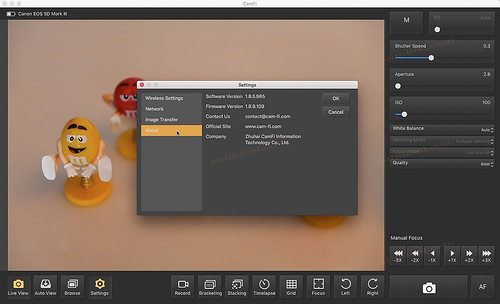
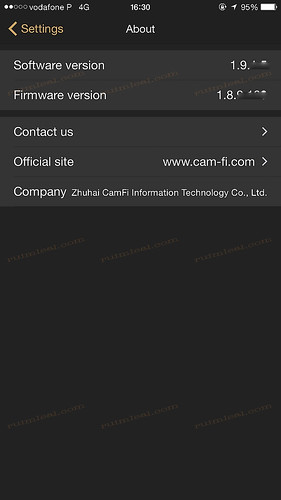
And then you have the software version and firmware version.
You can even record remotely by pressing on the Record option and then hit the Record button to start recording video remotely. (Tested with a Canon 5D MarkIII and works).

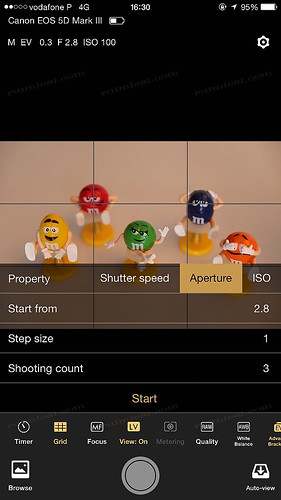
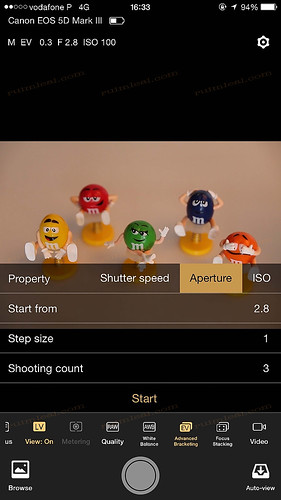
Screenshot for the Bracketing options available.
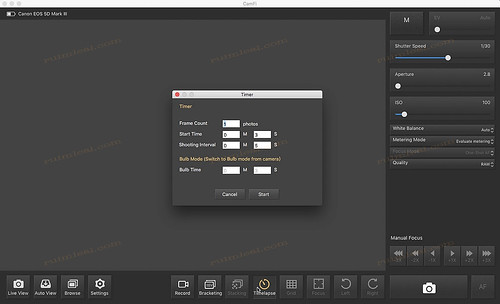
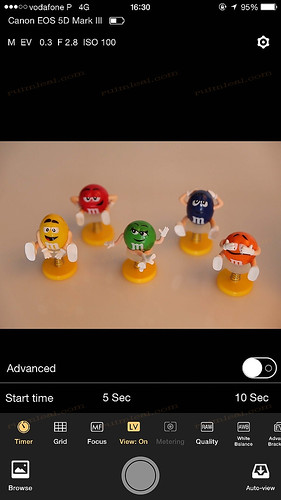
Timelapse feature and options available.
You can have a Grid. Although I found it very difficult to see the Grid in this yellow color I did not found a way to change it, maybe on a software update since it's very difficult to see under certain light conditions.
The focus options when active you can point with cursor or your finger where you want your focus point and the CamFi will focus for you.

Just tap on screen (iDevice) or click with the mouse on another location of your image to focus.
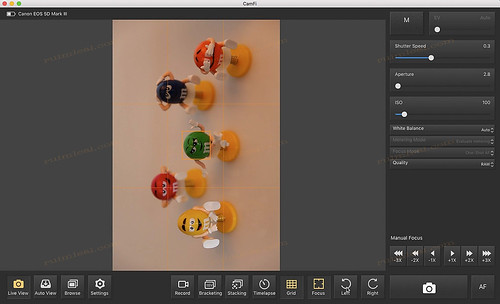
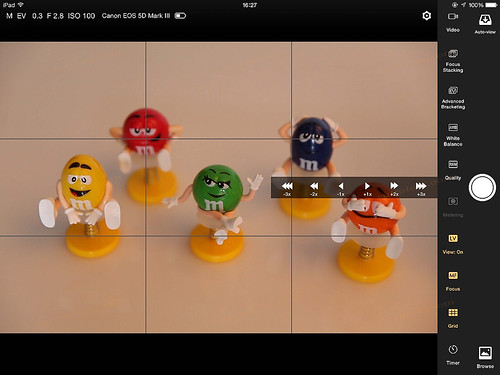
Rotation, while in Live View, is also possible making this a very nice feature if you need to make a photo that requires this method.
Rotation left or right while in Live View.
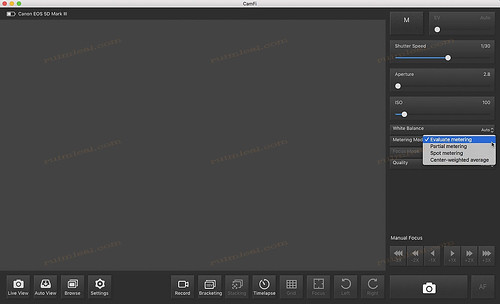
You can also change your Metering Methods as available in your camera.
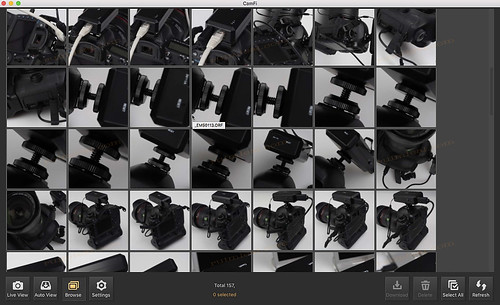
When you want to Browse for reviewing some images this is what it looks like.
Although my Olympus cameras are not available has part of their CamFi software I decided to test my OMD EM5 MarkII and see what I could get out of it.
For my surprise I could get the camera to be identified by CamFi but could not changed a setting or even trigger it... maybe in a future update.

iPad connections and menus
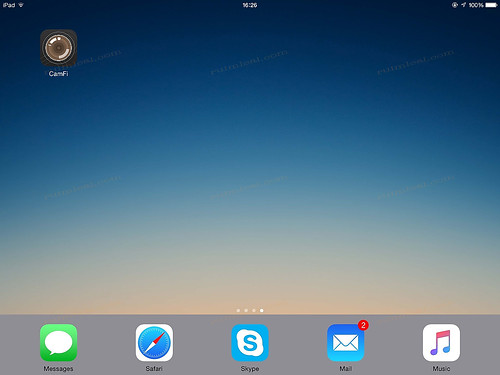
CamFi app icon
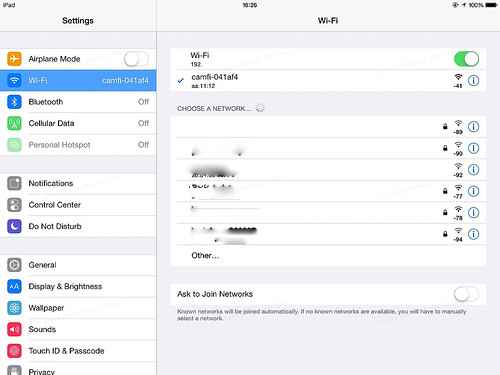
WiFi connection settings.
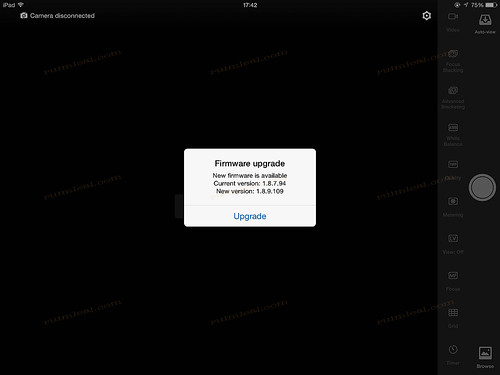
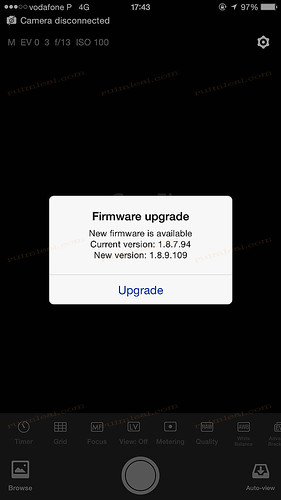
As soon as you connect the CamFi to any device it will automatically scan for new software and firmware and updates as needed.

Connecting CamFi over Wifi.
CamFi connected, app main screen.
Live View connection.
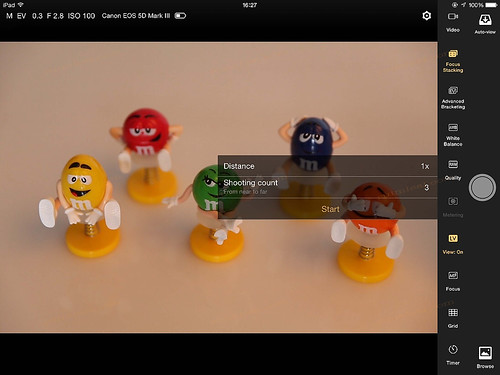
Focus Stacking options.

Advanced Bracketing options available.
White Balance otions.
Quality camera options.

Manual Focus options.
Grid, as you can see now the grid has a more grayish line making it more easy to see and read.
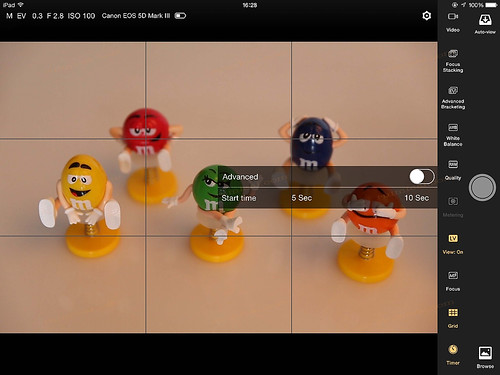
Time options.
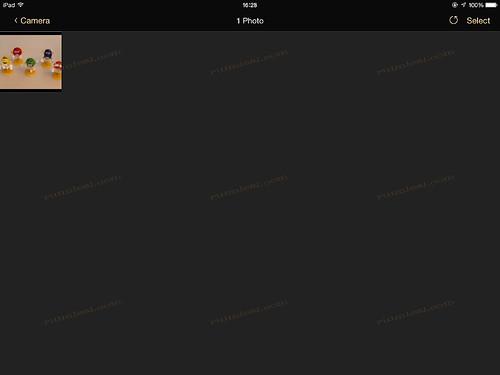
Browse option to review your images.
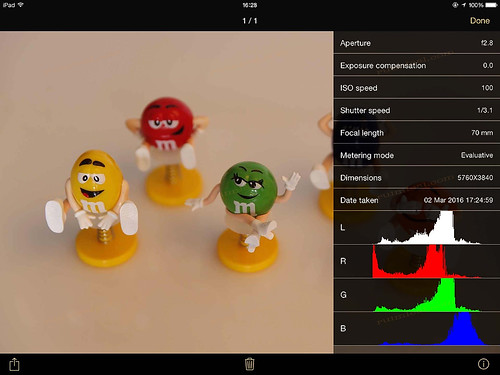
When in browse option you chose an image and press the info button this is the screen you have for the image information's.
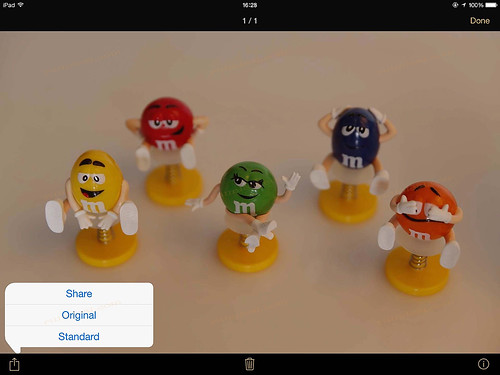
Then you have this options to save or share your images.
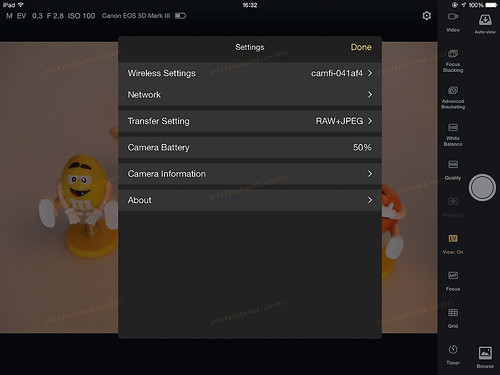
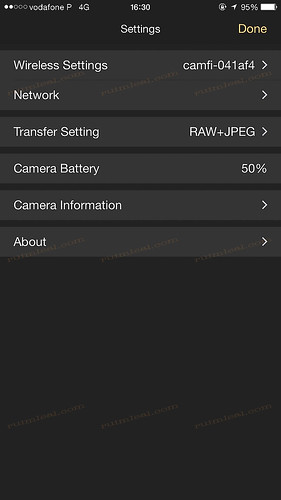
Settings menu options.
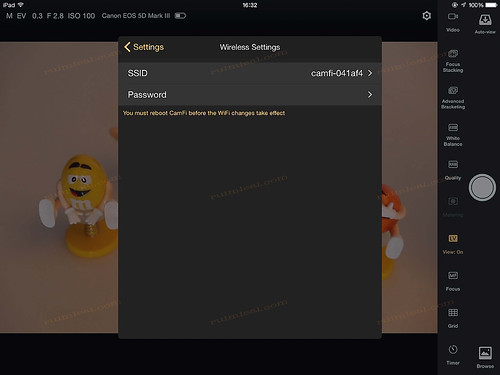
Wireless settings.
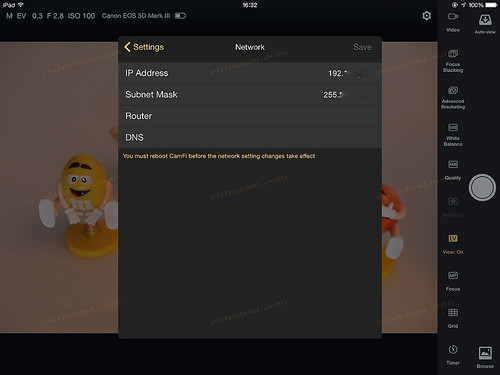
Network settings.
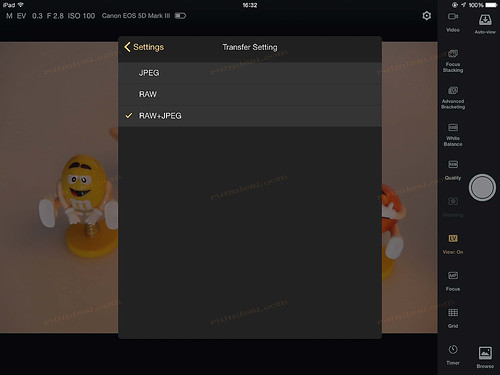
Transfer Settings options.
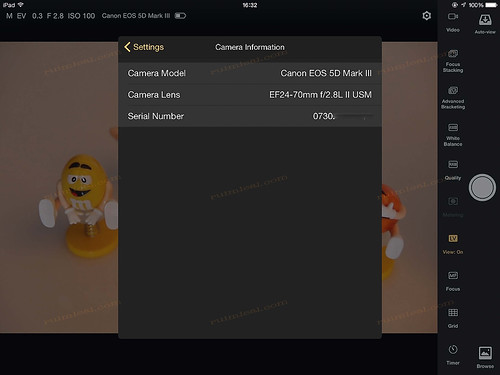
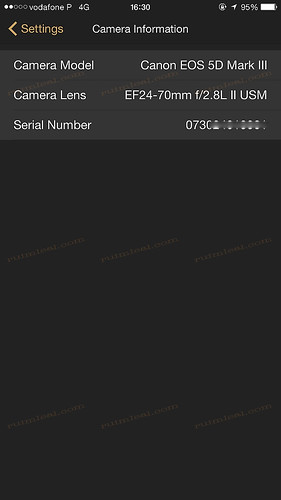
Camera information.
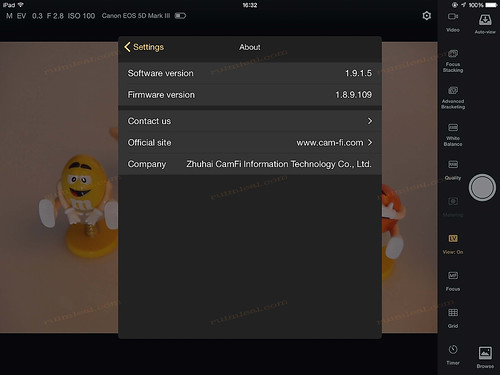
CamFi software information.
I made the same thing for the iPhone so you can have an idea of the size and positions on the screen of the menus and options.
CamFi iPhone connections and settings


You can also video record camera remotely over WiFi (Canon 5D MarkIII tested). This could be a very interesting feature to use.
I did not have any issue or failure with this device and I found it to be very solid with no hiccups either by LAN or WiFi.
It's very fast transfer and responsiveness are ideal for everyday situation either studio or outside, just amazing.
Technical Details about CamFi

CamFi can be used for self portraits, time-lapse, remote triggering and even to show your images on a TV set, Share your images on social networks, transmit your raw files fast and easily and even print directly (windows option only)
You can download the CamFi English versions of the User Manual (here) and the Quick Start Guide (here).
CamFi works up to 50m, I have not tested this ability since I believe one will not need so much distance to trigger the camera otherwise a Pocket Wizard system could be used in conjunction to help with distance problems.
CamFi is available for purchase at around 150,00 euros and I definitely think this is a great solution for the price it is offered. Consult the list of places where you can buy it (here).
If you live in Portugal you can get it directly and securely through DigiTrading.nl.
Thank you all for the continuous support.
Enjoy.
+++ NEWS UPDATE 2016-08-12 +++
CamFi connects DSLR to Dropbox in real time

To send the photos over the internet, it needs a MiFi (or another phone) as a hot spot. When the CamFi connects to the MiFi with the bridge mode, the user can connect to the internet and use the CamFi at the same time.

The Dropbox feature can be also applied for Windows. It only needs install of a Dropbox Windows client and set the path of the receiving folder of CamFi to the Dropbox sync folder. The version for android and Mac will be released in a few days.